


Magento is a powerful e-commerce platform used by many online retailers worldwide. Installing Magento on a local server is the best way to get to know and test the platform without needing an Internet connection. However, if you have never installed an e-commerce platform before, it can seem a little intimidating. Don’t worry, we have created a step-by-step guide to help you install Magento on your local server! In this blog article, we will introduce you to the necessary steps and provide helpful tips and tricks to help you successfully install Magento.
Setting up the Magento development environment:
- Download XAMPP (.exe) for the server environment. XAMPP Download
- Download the Magento ZIP file. Magento ZIP File Download
- Extract the Magento ZIP file into the DeinXamppOrdner/htdocs folder.
- Download Composer.exe. Create a directory named "composer" in the "htdocs" folder. Composer.exe Download
- C:/DeinXamppOrdner/php/php.ini
Uncomment the following files by removing the semicolon (;)
extension=soap extension=xsl extension=sodium extensions=sockets - Add a virtual host: C:\NamedeinesXamppOrdners\apache\conf\extra\httpd-vhosts.conf
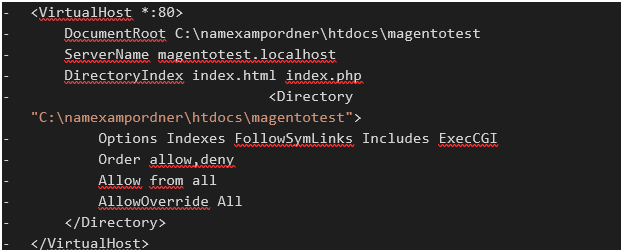
<virtualhost :80=""> DocumentRoot C:\NamexamppOrdner\htdocs\ProjektOrdner ServerName PorjektOrdner.localhost DirectoryIndex index.html index.php <Directory "C:\NamexamppOrdner\htdocs\ProjektOrdner"> Options Indexes FollowSymLinks Includes ExecCGI Order allow,deny Allow from all AllowOverride All - C:/DeinXamppOrdner/apache/conf/extra/httpd-xampp.conf Add LoadFile "C:/namexampordner/php/libsodium.dll" here.
# # PHP-Module setup # LoadFile "C:/xampp7.33/php/php7ts.dll" LoadFile "C:/xampp7.33/php/libpq.dll" LoadFile "C:/xampp7.33/php/libsodium.dll" LoadModule php7_module "/xampp7.33/php/php7apache2_4.dll" - C:/DeinXamppOrdner/apache/conf/extra/hosts
Enter a localhost here. Add ExampleName.localhost localhost.# localhost name resolution is handled within DNS itself. # 127.0.0.1 localhost # ::1 localhost ExampleName.localhost localhost - Open the Command Prompt (CMD) and enter the following in the command line:
- C:\DeinXamppOrdnerphp\php.exe bin/magento setup:di:compile
- C:\DeinXamppOrdner\php\php.exe bin/magento setup:upgrade
- Enter the following command via CMD: Adapt this command to your own folder structure and data. It is important that Elasticsearch is hosted or rented. You need to create the access credentials and enter them here.
- After receiving an error message, modify the following files:
-
\Validator.php line 141 (C:\xampp7.3.33\htdocs\projektordner\vendor\magento\framework\View\Element\Template\File)
$realPath = str_replace('\\', '/', $this->fileDriver->getRealPath($path));
- Open \StaticResource.php. Path: C:\DeinXamppOrdner\htdocs\ProjektOrdner\vendor\magento\framework\App
Replace DIRECTORY_SEPARATOR with "/" - \PluginListGenerator.php on line 158: Replace
$cacheId = implode('|', $this->scopePriorityScheme) . "|" . $this->cacheId;with$cacheId = implode('-', $this->scopePriorityScheme) . "-" . $this->cacheId; - Open \Gd2.php (C:\DeinXamppOrdner\htdocs\ProjektOrdner\vendor\magento\framework\Image\Adapter) and replace
if ($url && isset($url['scheme']) && !in_array($url['scheme'], $allowed_schemes)) {withif ($url && isset($url['scheme']) && !in_array($url['scheme'], $allowed_schemes) && !file_exists($filename)) { - In Di.xml on line 756, replace Symlink with
"Copy" - In Httpd.conf on line 183, uncomment
LoadModule version_module modules/mod_version.so. - Run setup:upgrade again to clear all caches.
- Disable the TwoFactorAuth module.
- The backend should now be accessible.
Modify and save the following files:
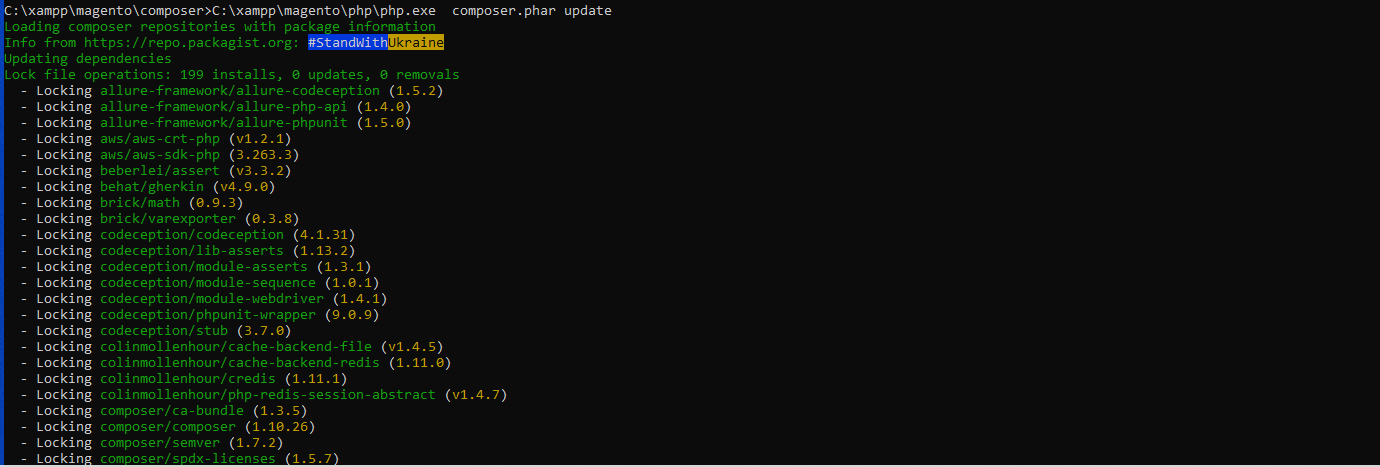
C:\DeinXamppOrdner\htdocs\ProjektOrdner C:\namexamppordner\php\php.exe composer.phar update
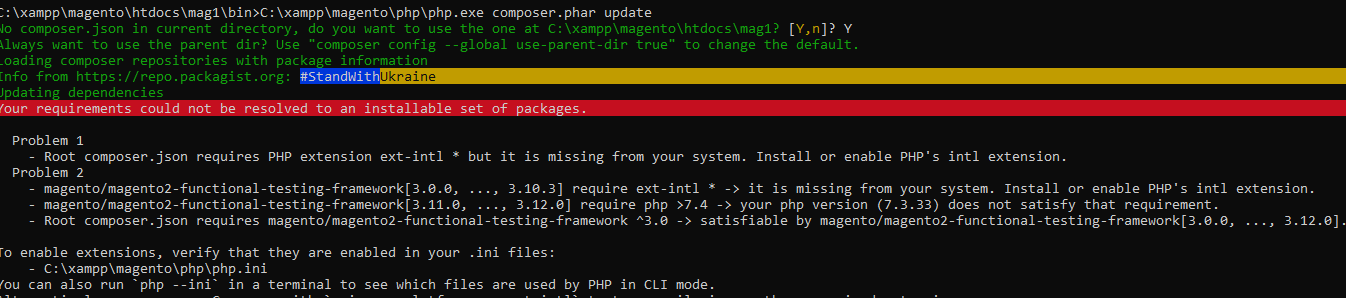
If this error message appears, open php.ini and remove the semicolon (;) from extension intl. Then run the update again.

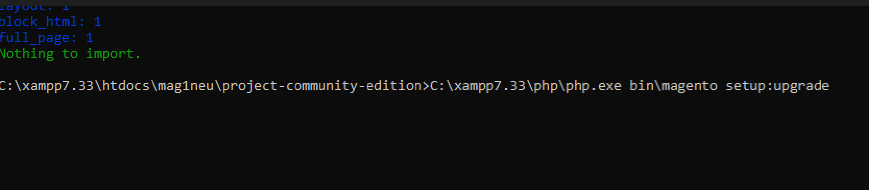
Clear the caches.
C:\DeinXamppOrdner\php\php.exe bin\magento setup:install --base-url=EnterLocalhostURL --db-host=localhost --db-name=DatabaseName --db-user=root --db-password= --admin-firstname=AdminFirstName --admin-lastname=AdminLastName --admin-email=Email --admin-user=AdminUsername--admin-password=EnterPasswordHere --language=en_US --currency=EUR --timezone=Europe/Berlin --use-rewrites=1 --search-engine=elasticsearch7 --elasticsearch-host=EnterHostHere --elasticsearch-port=EnterPortNumber --elasticsearch-enable-auth=1 --elasticsearch-index-prefix=EnterPrefixHere --elasticsearch-username=elastic --elasticsearch-password=EnterPasswordHere--elasticsearch-timeout=15
#LoadModule substitute_module modules/mod_substitute.so
#LoadModule unique_id_module modules/mod_unique_id.so
#LoadModule userdir_module modules/mod_userdir.so
LoadModule version_module modules/mod_version.so
#LoadModule vhost_alias_module modules/mod_vhost_alias.so
#LoadModule watchdog_module modules/mod_watchdog.so
#LoadModule xml2enc_module modules/mod_xml2enc.so
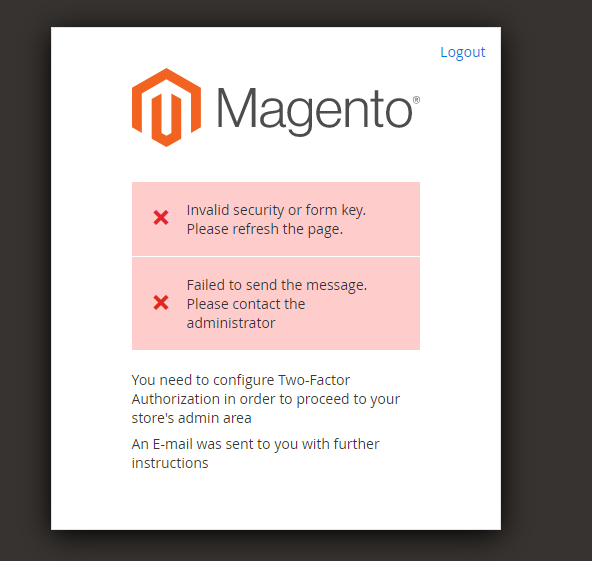
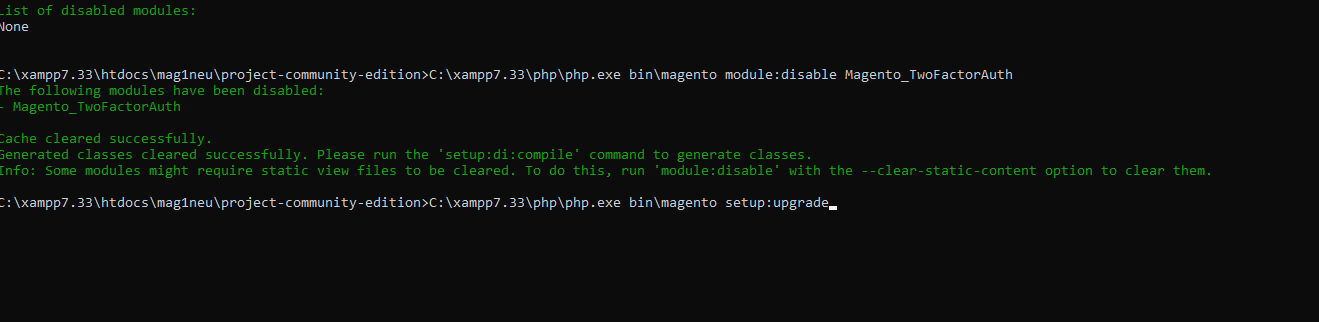
- C:\DeinXamppOrdner\htdocs\DeinProjektOrdner>C:\DeinXamppOrdner\php\php.exe bin\magento module:disable Magento_TwoFactorAuth
- Then run setup upgrade again to clear the cache.
We hope this article has helped you with installing Magento locally and that you can now successfully create your own Magento website. However, if you need support or have questions about how to get the most out of your online shop, our team at econcess Internet Agency will be happy to assist you. We are experts in creating Magento shops and are happy to support you from the initial planning through to the finished website. Visit our website or contact us directly for more information. We look forward to hearing from you.