

WordPress is open-source software that can be used to create websites, blogs, or apps. To install WordPress locally on your own PC, a web server is required. This is included, for example, in the XAMPP software.
Accordingly, the first step is to download and install XAMPP. In this case, the default configuration was used during installation. After the installation has been completed successfully, a new directory called “C:\xampp” should have been created, containing several subdirectories, including htdocs.
Here, the name of the main directory was additionally extended with the current version of the software, so that “C:\xampp” is now called “C:\xampp7_4_6”. However, this step is not mandatory. It is only used to distinguish this installation from older XAMPP installations that were already present in our case.
WordPress can now be downloaded and placed in the “C:\xampp7_4_6\htdocs” directory. Since the software is provided as a ZIP file, it must first be extracted.
Before starting the WordPress installation, a database should be created first. The required interface, phpMyAdmin, can be accessed via the URL “http://localhost/phpmyadmin/” after opening XAMPP and starting Apache and MySQL.
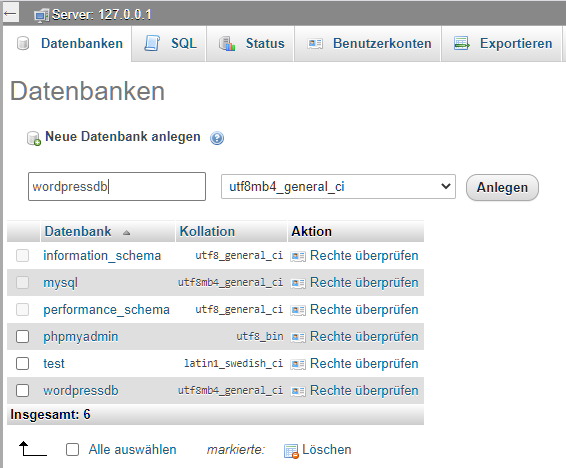
To create a database, select the “Databases” tab in the top menu bar. You can then enter a name for the new database in the input field (here: wordpressdb). The character encoding must then be selected from the drop-down list next to it (here: uft8mb4_general_ci). This allows text to be entered in German without any problems. Finally, click the “Create” button to create the new database.
WordPress can now be installed. To do this, the following URL was entered in the web browser: “http://localhost/wordpress”. The installation routine will then appear.
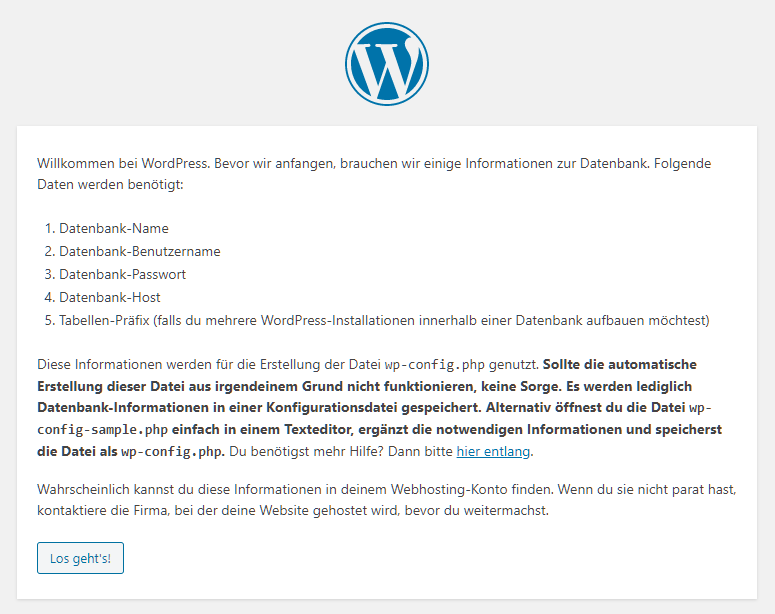
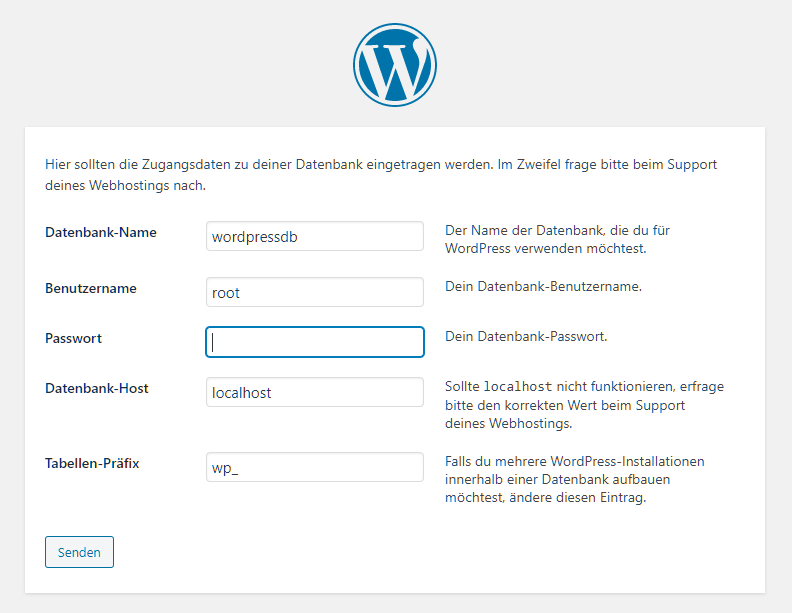
Once “Let’s go!” is clicked, the configuration begins by entering the access details for the database that was just created. The database name (here: wordpressdb), username (here: root), password if applicable (here: not set), database host (here: localhost), and table prefix (here: wp_) must be specified.
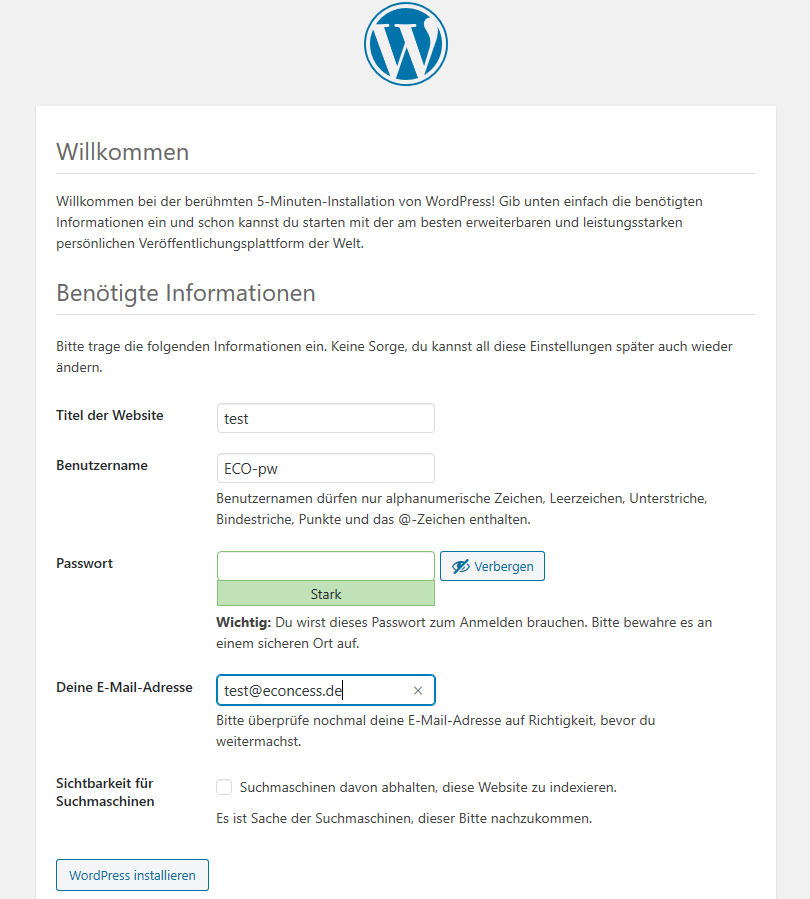
Next, a website title must be entered, and a username and password for administrative access must be specified. An email address must also be provided.
The installation is now complete. After logging in via the web browser, you can access the backend of the new website. To do this, enter the URL “http://localhost/wordpress/wp-admin”. This takes you to the login page for administrative access.